

Define Your Goals
Before diving in, clearly define what you want to accomplish with the remodel. Do you need to increase storage space, upgrade fixtures, or enhance accessibility? Make a wish list of your ideal new bathroom. Establish an overall style and budget. Know the must-haves versus nice-to-haves. Be sure to consider how long you plan to stay in your home. Focus on changes that will maximize resale value if you sell sooner rather than later.
Create a Floor Plan
According to Consumer Reports, planning is a key part of any successful full bathroom renovation or remodel. Evaluate your existing bathroom layout to see what stays and what goes. Evaluate how you use the existing space and what changes would optimize the layout. Create a rough sketch of your ideas.
Evaluate Existing Layout
Assess what is working and not working in the current bathroom. Analyze the location of sinks, toilets, showers/tubs, and storage. Decide which components you want to keep or change. Consider tweaks like adding a door or repositioning the vanity.
Determine Footprint
Decide if you will keep the same footprint or expand the square footage. Knocking down walls or borrowing space from adjoining rooms lets you enlarge the bathroom. Weigh if the extra cost is worth the impact. A smaller footprint may work with clever layout adaptations.
Include Key Zones
The new floor plan should designate spaces for each bathroom function:
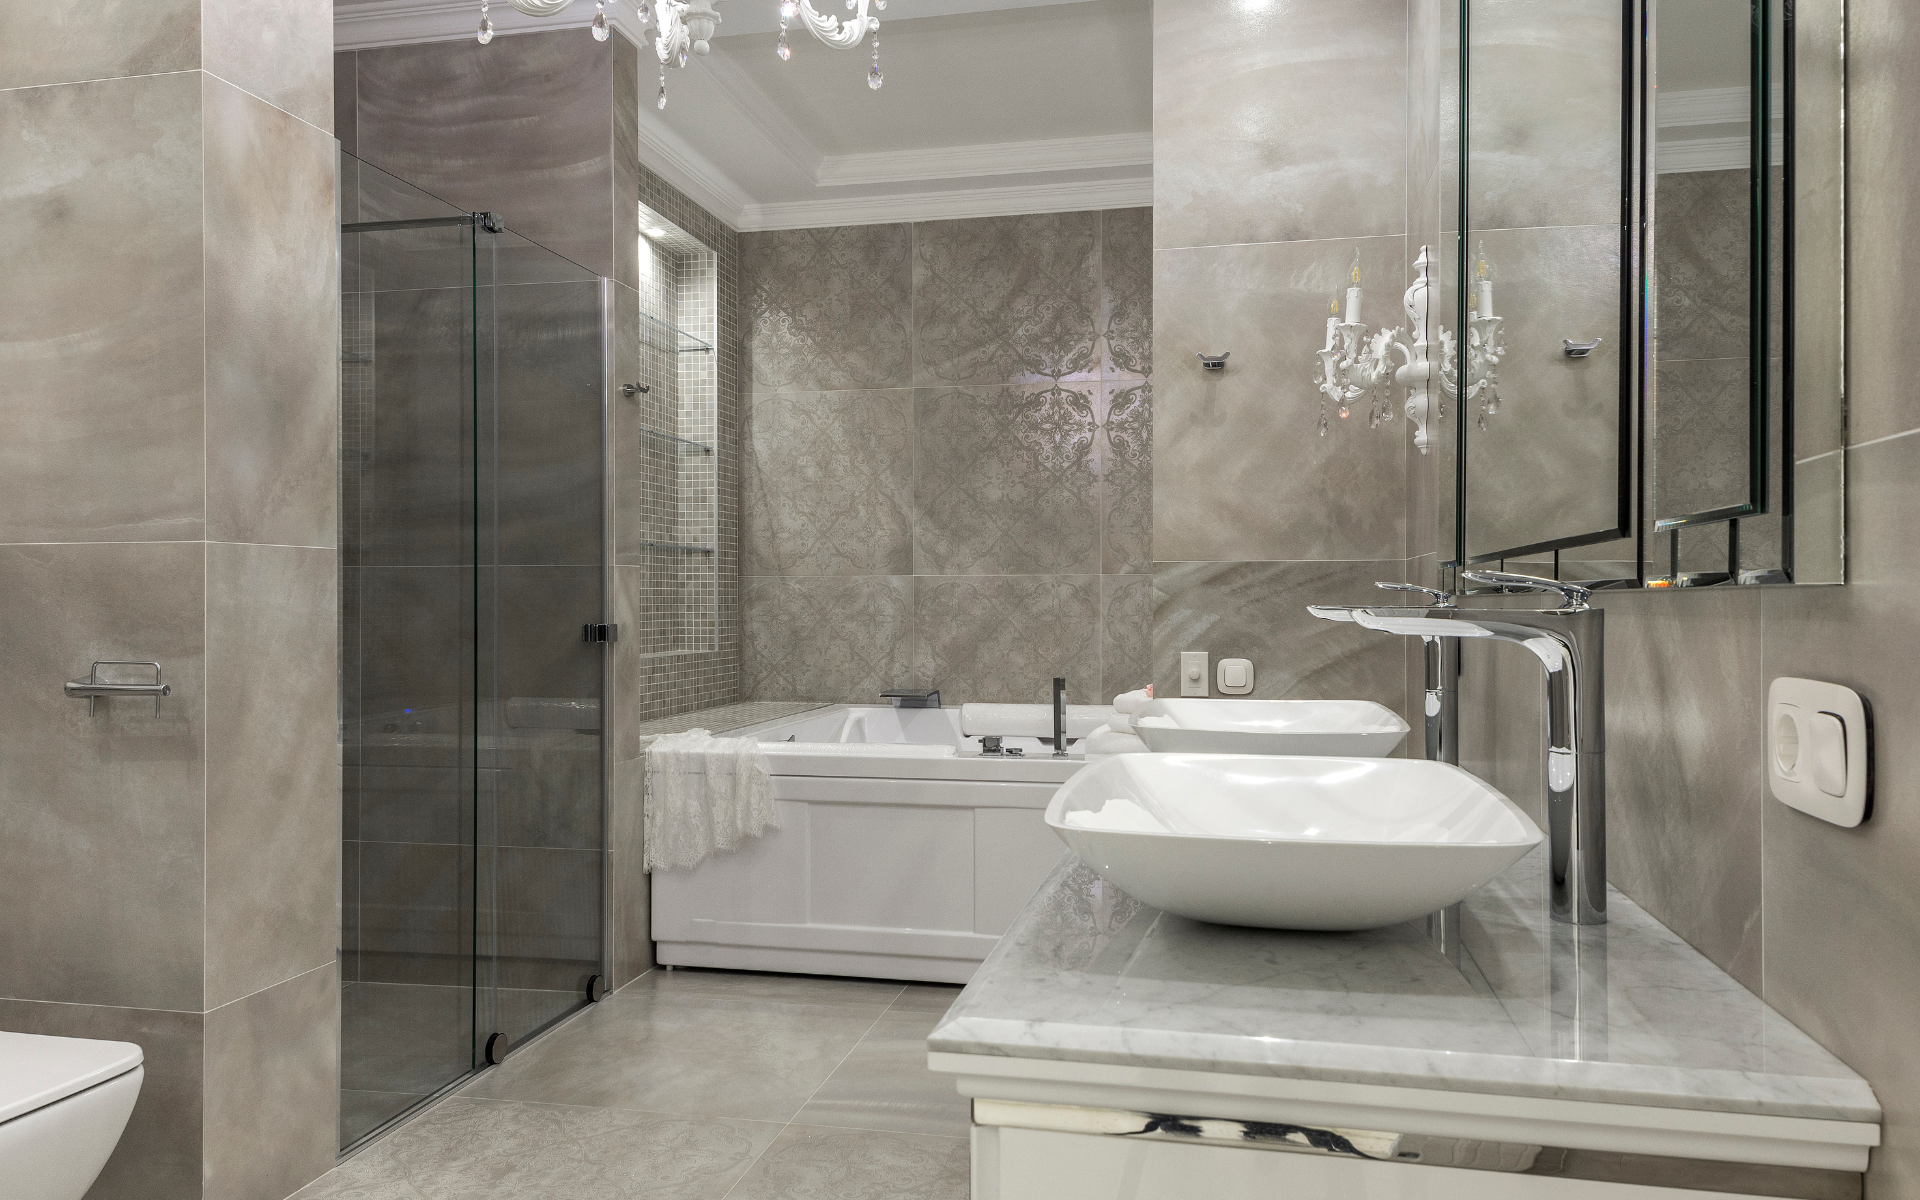
Sinks – Double or single vanities? Vessel or undermount sink(s)?
Toilets – Enclosed or open? Elongated bowl? Comfort height?
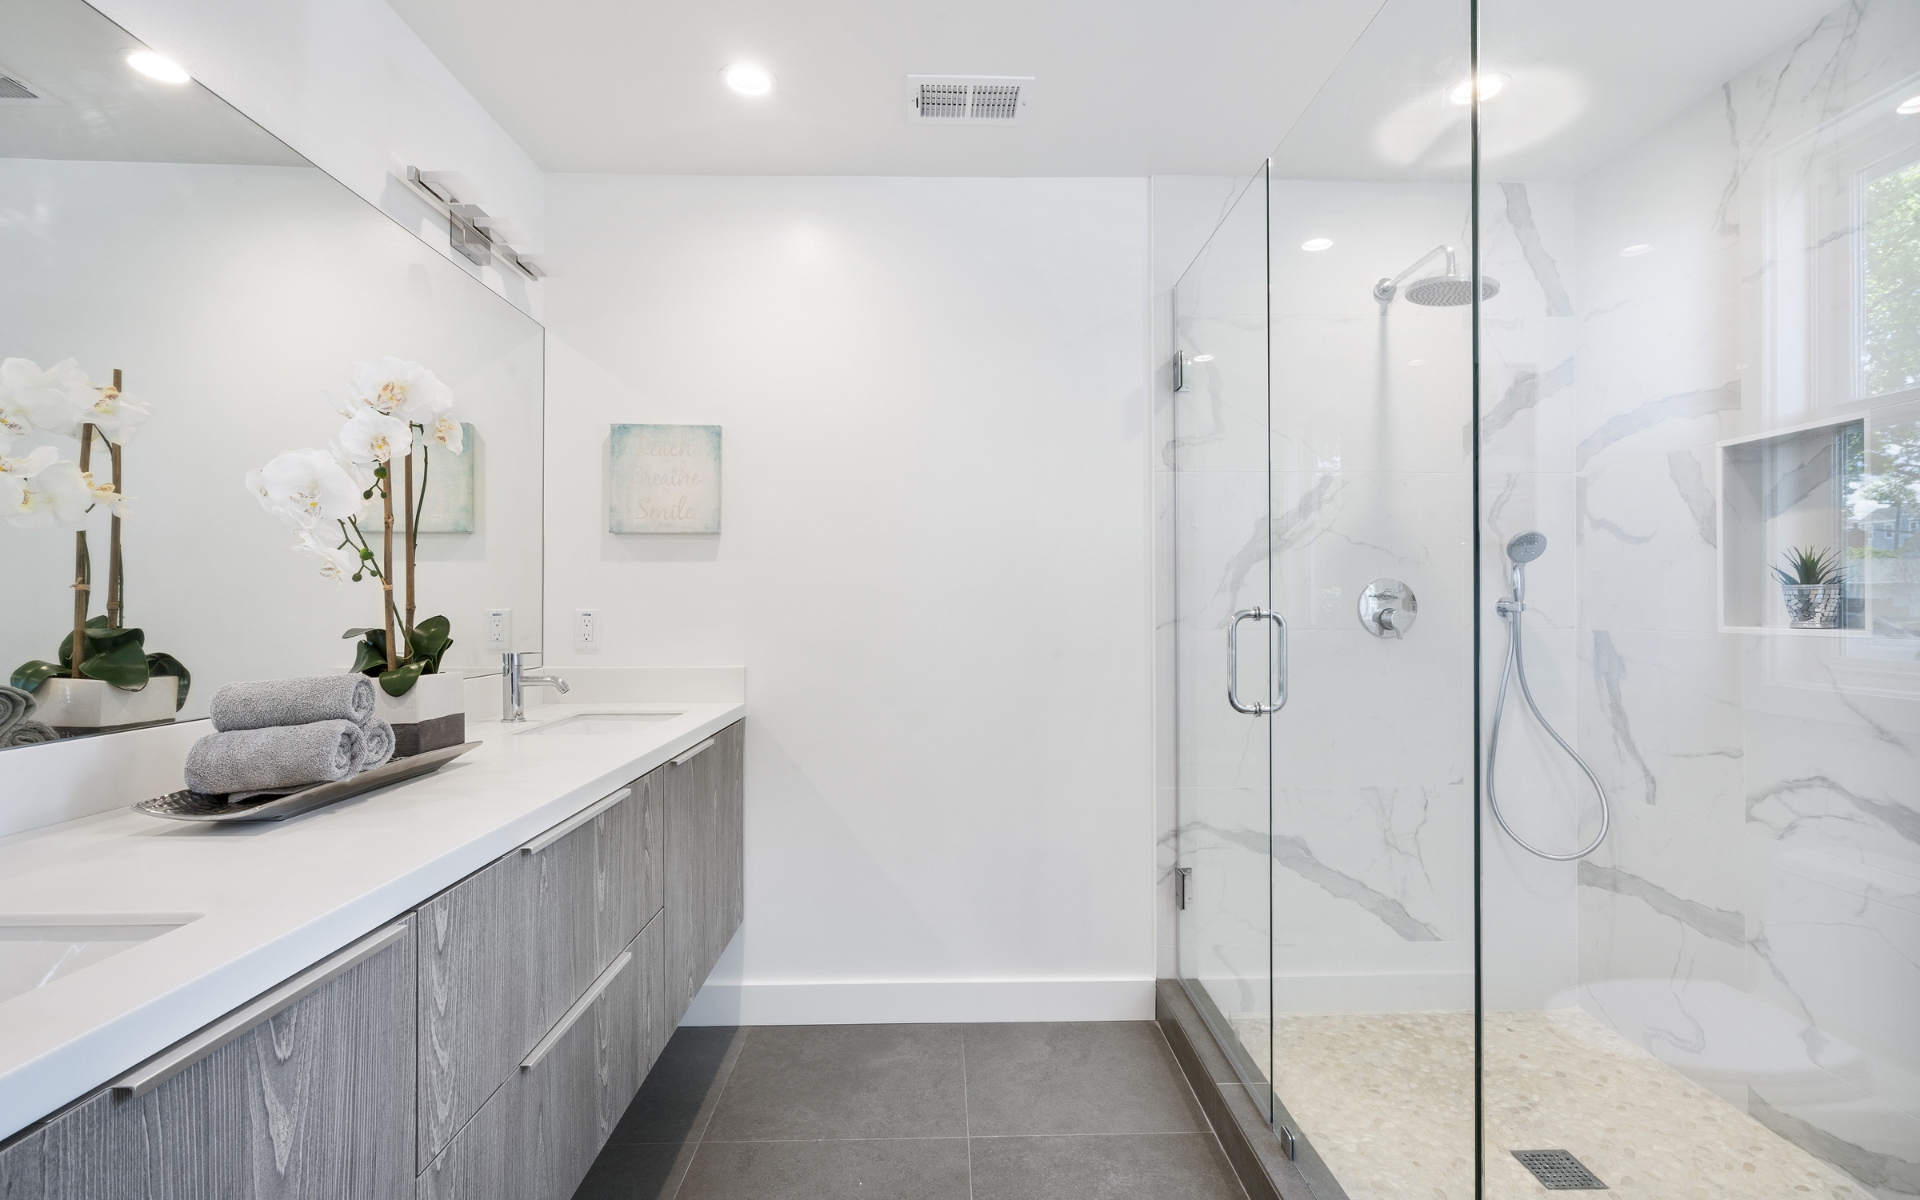
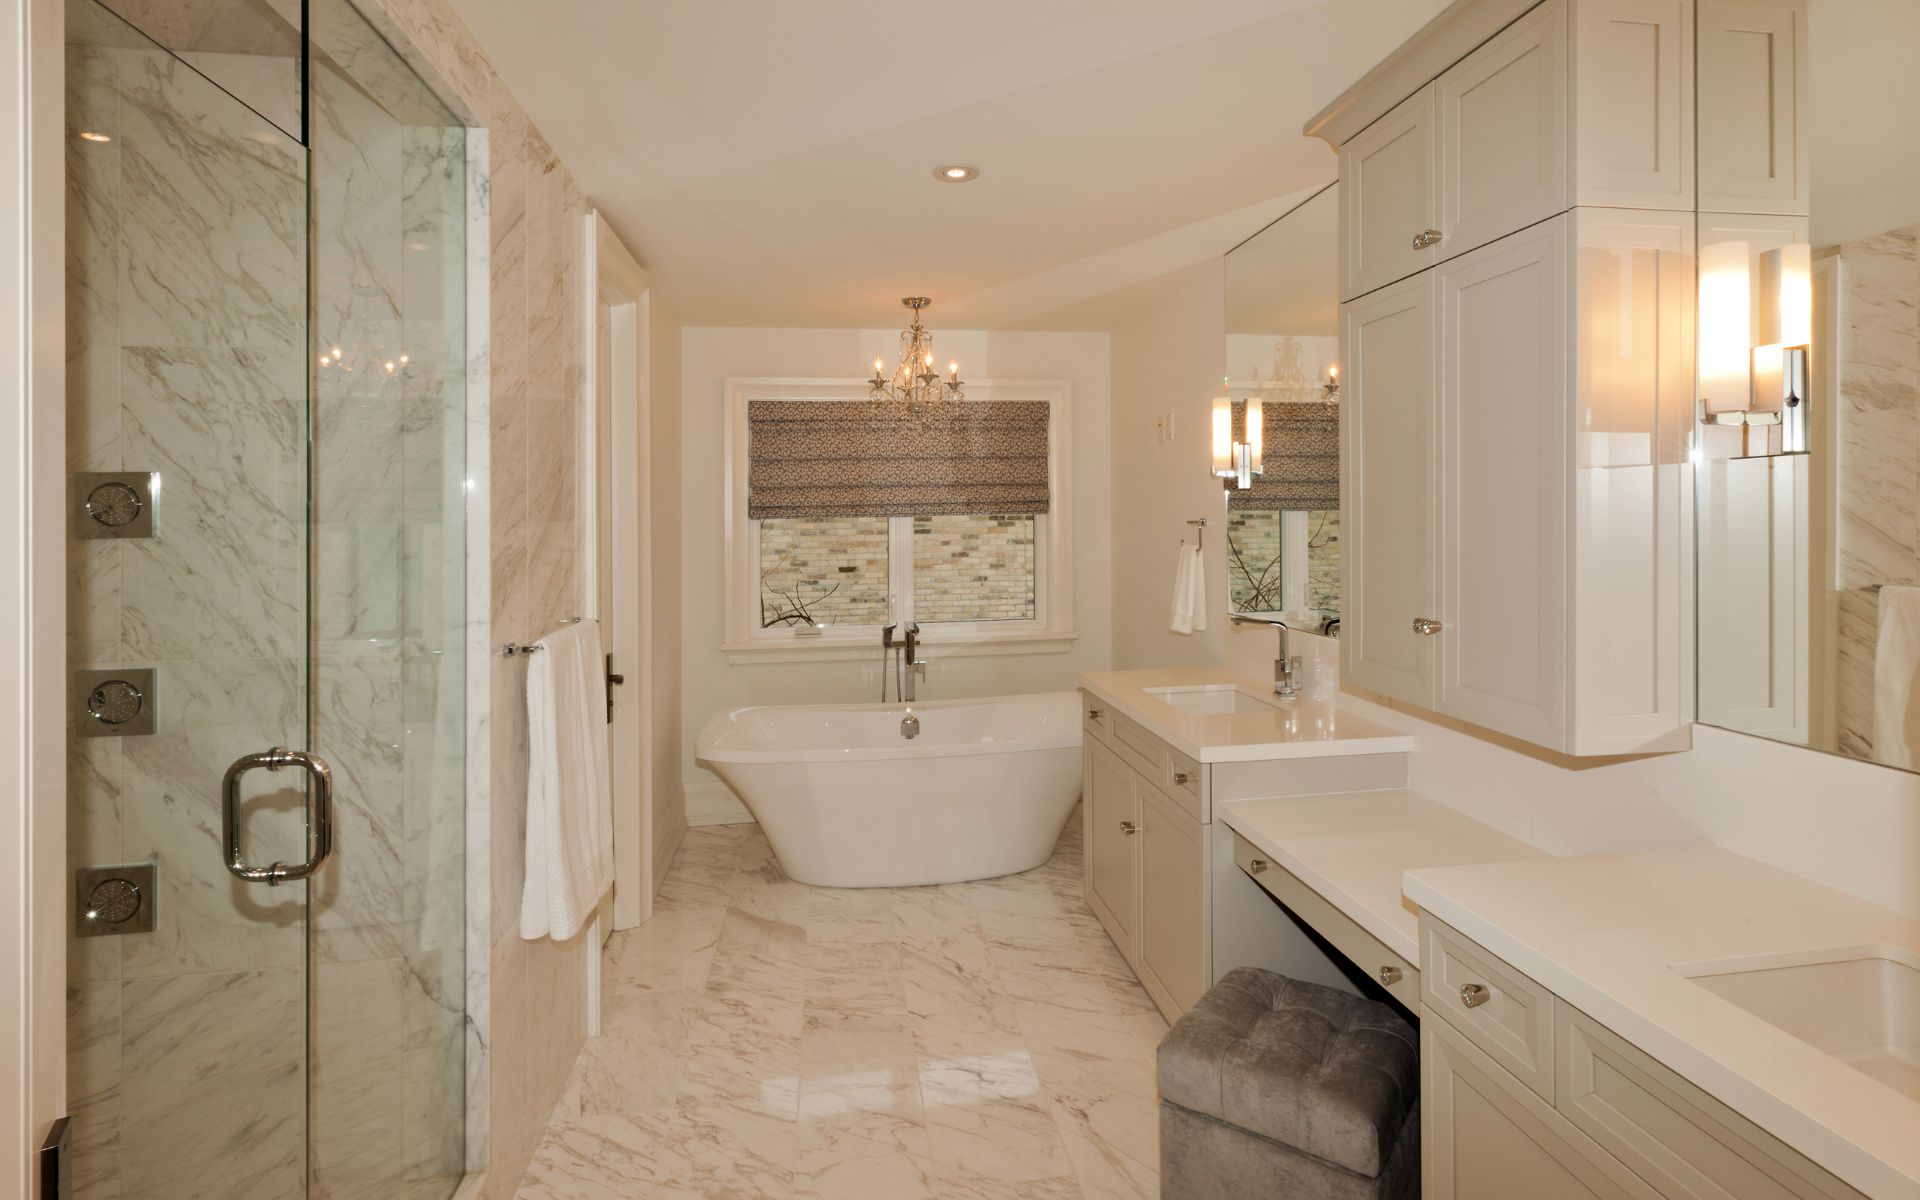
Bathing – Tub, walk-in shower, or both? Glass door or curtain?
Storage – Drawers, cabinets, and closets for ample storage.
Create a rough sketch showing where each zone will be located. This forms the foundation for your remodeling plans.
Choose Fixtures and Finishes
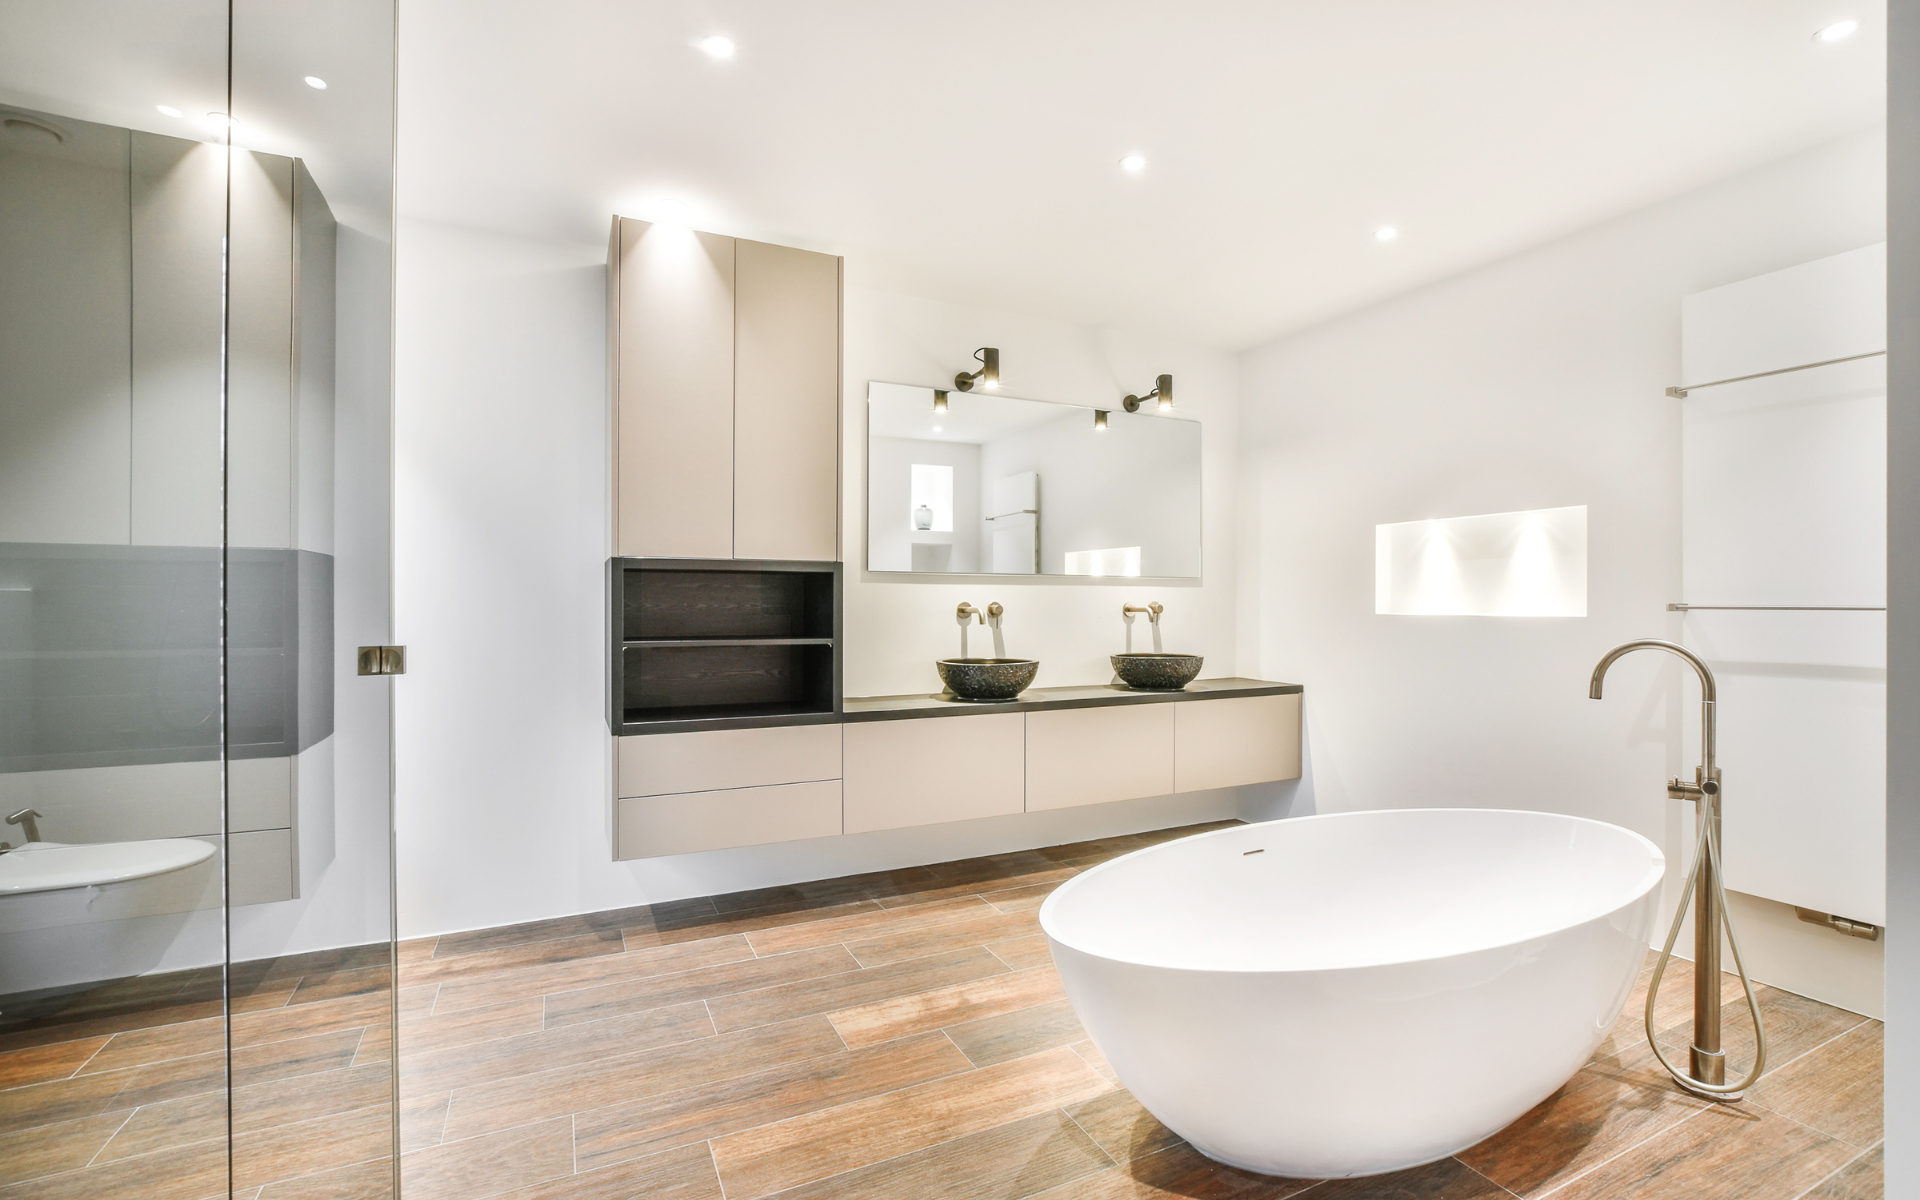
Selecting materials, colors, textures, and styles you love for your dream bathroom is a big piece of the planning process. Spend time exploring bathroom remodeling ideas on Pinterest or in blogs and magazines. Compile inspirational images of bathrooms with looks you’re drawn to. This helps inform fixture and finish decisions. Key elements to select include:
Tile/Surrounding Materials
Tile is a foundational material that sets the tone for the whole bathroom. Browse tile options like ceramic, porcelain, glass, marble, or stone that align with your aesthetic. Determine the right tile size and layout pattern for the space. Decide if you want the tile to cover all walls and floors or use it as an accent. Be sure to choose tile grades suited for flooring or wet areas as needed.
Paint Colors
Fresh paint can completely transform the look and feel of a bathroom. Consider light, neutral hues that open up the space and enhance natural light. Or make a statement with bold, saturated tones. Remember to use moisture-resistant paint in humid bathroom areas. Determine if you’ll paint the ceiling, trim, doors, and any furniture the same or contrasting color.
Cabinetry Style and Finish
Cabinetry plays a major functional and aesthetic role. Choose cabinet frames, sizes, hardware, and layout that provide ample storage. Select door styles and finishes that align with your own design style and vision, like clean-lined Shaker cabinets or rich wood-stained cabinets. Even small details like the cabinet knobs make a difference.
Countertops
Countertop materials like quartz, solid surface, laminate, or stone set the tone for your sinks and vanities. Appearance, durability, maintenance, and budget play into the decision. Browse countertop colors and edge profiles that work best with your cabinetry and flooring choices.
Plumbing Fixtures
Plumbing fixtures include sinks, faucets, bathtubs, showers, and toilets. Pick these integral items based on function, comfort, and visual appeal. Modern metallics or sleek rectangular vessels can elevate a vanity. Opt for space-saving corner sinks or wall-hung models. Select low-flow, WaterSense plumbing to conserve water.
Lighting
Proper, bathroom fixtures and lighting is essential. Include overhead light, sconces, vanity lighting, and perhaps accent lighting. Choose fixture finishes and styles that enhance your desired aesthetic – from vintage brass to modern matte black. Consider dimmable lighting as well.
Accessories
The right accessories put the finishing touch on a bathroom. Choose bath towels, rugs, shower curtains, and accessories to tie the whole look together. Mirrors make a major impact – select framed mirrors, beveled-edge, or backlit styles. Wall shelves provide display space for decor. Final details give a personal touch.
Create a Budget
After defining the scope and making initial design choices, establish a realistic bathroom remodeling budget. Get multiple quotes from contractors on projected costs. Find ways to cut expenses if needed, like DIYing a demo or using a small decorative tile accent wall rather than tiling the whole space. Plan for a 10-20% cushion for unexpected issues. Settling on a budget upfront prevents mid-project surprises.
Hire a Contractor
Finding the right general contractor for your bathroom remodel is crucial. Start by asking friends and neighbors for referrals. Vet several contenders, read online reviews, and compare experience, communication style, and fees. Some key qualities to look for include:
Specialization in bath remodels
Excellent references
Organized with a systematized process
Detailed contract and transparent quotes
Handles securing permits
Open communication habits
Ability to stay on schedule
Based on advice from HGTV, investing in universal design elements for aging in place is wise if you plan to stay in your home long-term. Including walk-in showers, grab bars, adjustable lighting, and easy-access controls in your remodel can allow the space to evolve with your needs.
Create a Timeline
With the contractor on board, map out a start-to-finish timeline for the remodel. Discuss long lead times for sourcing materials, tile, cabinetry, or plumbing fixtures. Ask about their workflow and how long each phase of the renovation project typically takes.
Build in scheduling cushions in case of delays or issues. Knowing the full projected timeline and additional cost upfront allows you to plan. Be sure your contractor agrees to keep you updated on progress and schedule changes.
Bathroom Remodel Project Demolition & Prep Work
The demolition phase is dirty but crucial work. Completely gutting the house and existing bathroom allows you to rebuild and reconfigure the layout from scratch.
Photograph and Remove Old Elements: Before demolition, document the existing electrical, plumbing, and ventilation systems with photos and notes. This provides a helpful reference for reconstruction. Protect surrounding areas from debris. Start by removing old flooring, shower/tub units, cabinetry, fixtures, trims, and accessories. Bag up salvageable items and dispose of the rest properly.
Inspect Repairs Needed: With the bathroom emptied, inspect if repairs are needed to walls, subfloor, or plumbing/electrical systems before rebuilding. Look for water damage or mold behind walls, around windows, and near plumbing. Inspect if the subfloor or walls need patching, leveling, or re-routing of plumbing/wiring.
Map New Layout: Mark stud locations on bare walls and map where new fixtures, walls, and plumbing components will be located. Outline the floor plan in painter’s tape. Have electricians and plumbers adjust any rough-ins needed. Shore up framing if removing any walls. Now the blank canvas is ready for your new bathroom design.
Clean Surfaces: Thoroughly clean all surfaces to remove dust and debris before installation of new finishes. Vacuum and sweep floors. Use TSP cleaner to scrub walls and wipe down remaining fixtures or mirrors. Clean any vents or fans. Disinfect surfaces once clear of grime. The cleaner the slate, the better your materials will adhere.
With the room stripped down, inspect if repairs are needed before rebuilding. Mark stud locations for new walls. The space is now prepped and ready for remodeling! Dispose of debris responsibly.
Rough-Ins and Installs
Rough-ins involve installing any behind-the-wall electrical, plumbing, ventilation, and ductwork. With the guts taken care of, visible constructs like tile, cabinetry, lighting, and trims are added.
The new bathroom layout and powder room structure are taking shape. Inspiration images or 3D plans are helpful references during this puzzle-piecing phase. Changes are much easier now versus down the road.
Finishing Touches
Congratulations – you’re in the home stretch! It’s time for those satisfying finishing touches:
Lay Flooring: Install any remaining flooring like tile, vinyl plank, or wood at this stage. Follow all prep and installation steps carefully for durability. Use spacers between tiles and levels to ensure even surfaces. Mix tiles from different boxes. Leave recommended joints between the tile floor, and walls. Finish by grouting and sealing tile or wood floors.
Paint Walls and Ceiling: With cabinets and fixtures installed, complete any remaining wall and ceiling painting. Apply primer first for best coverage. Use high-quality latex paints formulated for bathrooms that resist moisture and mildew. Roll on at least two finish coats of paint using high-naps rollers, cutting in edges with an angled brush.
Install Mirrors, Hardware, Shelving, and Accessories: Here you can elevate the form and function separate toilet room. Mount framed mirrors for a finished look. Install any cabinet hardware like knobs or pulls. Add open shelving or artwork. Place decorative bath accessories like candles, plants, and shower caddies. Ensure towel bars, robe hooks, and toilet paper holders are stocked.
Seal Grout and Caulk Edges: Grouting tile and sealing any natural stone is essential to waterproofing and longevity. Apply a penetrating sealant to porous grout lines and stone tile or counters. Use a flexible silicone caulk between countertops, sinks, tubs, and any change in plane. Caulk around fixtures and pipes to prevent moisture access.
Hang the Shower Door: Install any shower doors, making sure they open and close smoothly. Use clear silicone caulk around the edges for water protection. Choose between frameless glass doors, framed doors, curtains, or other enclosures to complete your shower.
Clean and Prep Fixtures: Thoroughly clean all new plumbing fixtures and surfaces with mild soap and water to remove any construction dust or residue from installation and sealing. Wipe down mirrors and glass. Fill dispensers with soap and toilet paper. Plug-in electronics and test lighting controls.
Finish Trim, Molding, and Baseboard: Add any remaining trims and baseboard molding around the floor perimeter. Install door and window casing for a finished frame. Use acrylic caulk at trim seams. Pre-paint trim pieces before installing them for a smooth look. Match trim style to your interior design scheme.
Install New Lighting Fixtures: Replace overhead lights, sconces, vanity lighting, and any accent lighting with fresh new fixtures. Use soft white or daylight temperature bulbs with high CRI for ideal bathroom lighting. Make sure the electrical is properly connected and the lighting is dimmable if desired.
Seal Tile/Stone Surfaces: Even after initial sealing, apply an additional layer of sealant like grout sealer or natural stone sealer. This protects porous surfaces from moisture damage and stains. Follow product instructions carefully. Buff away any haze residue once fully cured for radiant-finished tile surfaces.
The Final Reveal
After weeks or months of hard work, your bathroom remodel is finally complete! Do a final thorough clean from top to bottom. Add bath mats, shower curtains, soap dispensers, and decorative items. Stand back and admire your brand-new, luxuriously renovated bathroom.
Enjoy the process of renovation, settling into the new space, and reaping the benefits for years to come. Just follow this detailed checklist, and you can enjoy a successful, relatively stress-free bathroom remodeling project resulting in the bathroom of your dreams.