

Ever thought about what’s possible with a basement remodeling project? Instead of letting that space collect dust and boxes, you can turn it into a vibrant, usable area that adds value and joy to your home.
“Finishing” transforms this rough area into a comfortable, livable part of your house that blends seamlessly with the rest of your space. A kitchen and bath remodeling company can offer the skills, experience, and creative solutions needed to tackle even the trickiest basement challenges. It’s not just about slapping on drywall and calling it a day. It’s a series of thoughtful steps, each building on the last, to create something you’ll love for years.
Why Consider Finishing a Basement Remodeling Project?
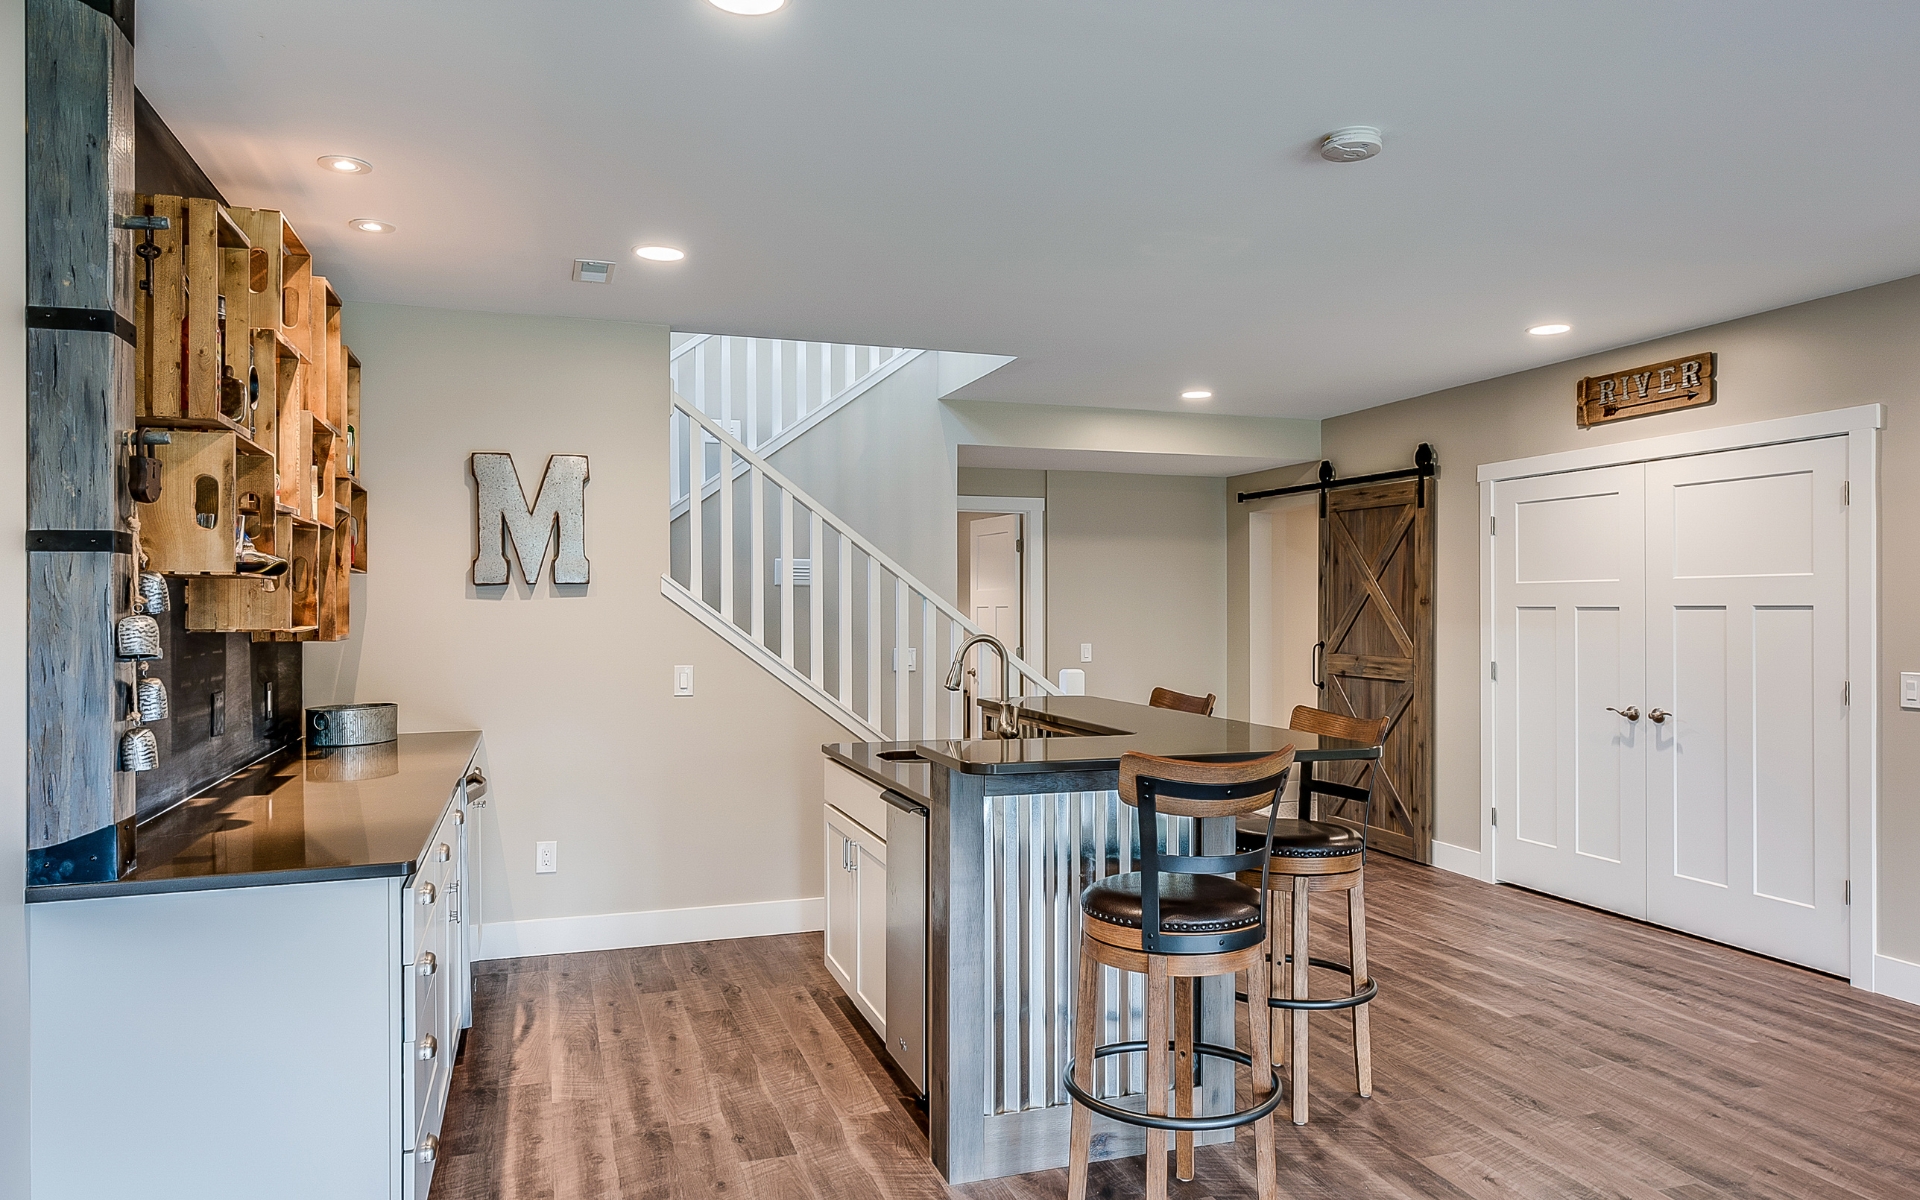
Now, imagine what you could do with that space: a cozy family room, a guest suite, a home theater, or even a stylish home office. Not only does this add value to your property, but it also gives your family more room to live, work, and play.
Homeowners across the country are catching on. According to HGTV, a smartly finished basement can offer up to a 70% return on investment when done right. So, if you’re looking to maximize both comfort and value, finishing a basement remodeling project makes perfect sense. Let’s walk through the real-world, practical steps for finishing a basement remodeling project.
Step 1: Evaluating and Prepping the Basement
Start off by understanding what you’re working with. Walk through your basement and look closely at the walls, floors, and ceiling. Search for signs of moisture or water damage. Any damp spots, white powdery residue, or musty smells mean you’ll need to address leaks before moving forward. Ignoring these issues can turn your dream space into a nightmare later.
If you find any cracks or structural concerns, it’s time to bring in a professional. Get a foundation specialist or an experienced home remodeling company like Mega Kitchen and Bath to inspect the space. Solving these problems early saves headaches and money down the road.
After addressing moisture and structural issues, remove everything from the basement. Old furniture, boxes, and debris should go. A clean, empty canvas is not only easier to work with but also makes it safer for everyone involved.
Step 2: Planning the Layout and Uses
Now comes the creative part. Imagine how you want to use the space. Maybe you’re dreaming about a family room, a guest suite, a home office, or even a home gym. Grab a notepad or use a digital tool to sketch the space. Mark out zones for each use, and pay attention to natural light, ceiling height, and locations of existing pipes and electrical hookups. This is where many basement remodel ideas take shape.
Think about how you’ll move through the space and how each area will flow into the next. Let family members chime in with their needs and wishes. Planning out a clear, functional layout makes every step that follows smoother.
Next, create a rough budget. Include everything. From materials to labor to permits and unexpected expenses. Research costs in your area or connect with a home remodeling company like Mega Kitchen and Bath for realistic estimates. Setting a budget early keeps you on track and ensures you get the features you care about most.
Step 3: Checking Permits and Building Codes
Don’t overlook the paperwork. Before any work begins, check with your local building department about necessary permits for electrical, plumbing, insulation, or structural changes. Each city has its own rules, so reach out or visit their website. Securing the right permits is crucial for safety and resale value. It’s much easier to get this done now than to fix code violations later.
Your contractor should be familiar with local requirements and can help you through the process. Mega Kitchen and Bath, for example, guides homeowners through every compliance step, making it hassle-free.
Step 4: Waterproofing and Insulation
Basements are naturally prone to moisture. Waterproofing at this stage is vital, even if you haven’t noticed any leaks. Apply waterproofing paint or membrane on walls and floors. Install a sump pump or upgrade your existing drainage system if needed. Consider adding a dehumidifier to keep humidity levels in check all year round.
With waterproofing complete, add insulation. Foam board, spray foam, or fiberglass batts all work well, depending on your climate and budget. Insulating the walls and floors helps control temperature, saves on energy bills, and makes the space comfortable for any season.
Step 5: Framing the Space
It’s time for the structure. Put up wood or metal studs to frame new walls, closets, or separate rooms. Follow your earlier layout sketch and double-check measurements. Framing provides the foundation for everything else like walls, doors, and built-in storage.
Don’t forget to frame soffits around ductwork or plumbing. Careful framing makes the next steps easier and helps avoid surprises when hanging drywall or installing fixtures.
Step 6: Plumbing, Electrical, and HVAC Work
This step is all about bringing your basement to life. Plan out where you need outlets, light switches, and overhead lighting. If you’re adding a bathroom or wet bar, run new plumbing lines and make sure they’re properly vented. HVAC work might include extending ductwork, adding vents, or installing baseboard heaters.
Hire licensed professionals for all electrical and plumbing work. Not only is this required by code in most places, but it ensures every system is safe and reliable. Install wiring, outlets, and fixtures according to your layout plan. Place plenty of outlets and consider adding USB ports or smart switches for a modern touch.
Once everything is roughed in, schedule inspections as required by your local building department. Passing these checks means you can move on to the next phase with peace of mind.
Step 7: Installing Drywall and Ceilings
With utilities in place, close up the walls. Hang drywall on every new surface. Taping, mudding, and sanding the seams give you a smooth, finished look. If your basement ceiling is low or has lots of pipes, consider a drop ceiling for easy access, or install drywall for a cleaner appearance.
This is also when you see the transformation from construction zone to living space. Fresh drywall reflects light and starts to make the basement feel bright and welcoming.
Step 8: Picking and Laying Flooring
Your basement floor needs to handle moisture and heavy use. Vinyl planks, tile, and engineered wood are top choices. Carpet tiles can add warmth, especially if you’re setting up a playroom or theater. Whatever you choose, make sure it’s designed for below-grade use.
Install a subfloor if you want extra insulation or comfort underfoot. This helps prevent cold floors and keeps moisture away from your finished surface. Once the flooring is down, the space really starts to shine.
Step 9: Painting, Trim, and Finishing Touches
Here’s where your style comes into play. Choose light, airy colors to open up the basement and give it a welcoming feel. Use mold-resistant paint for added peace of mind.
Now, install baseboards, window and door trim, and interior doors. These finishing details elevate the look and tie everything together. Built-in shelves, entertainment centers, and storage nooks are smart additions at this stage, making your basement both stylish and practical.
Step 10: Lighting, Fixtures, and Outlets
Good lighting changes everything in a basement. Mix recessed lights, ceiling fixtures, and wall sconces to layer light and eliminate shadows. Install all switches, outlets, and smart features for easy living.
Add plumbing fixtures if you included a bathroom or wet bar. Set up your HVAC controls for comfort year-round.
Step 11: Furnishing and Decorating
With construction complete, bring in the furniture and décor. Arrange seating areas, add rugs and pillows, and hang artwork or family photos. Use mirrors to bounce light and make the space feel even bigger.
Plants, lamps, and baskets for storage add warmth and function. This is your chance to show off your personality and create a space that truly feels like home.
Step 12: Final Inspections and Enjoying Your Finished Space
Don’t forget the last step. Final inspections. Your local building department will check everything to ensure it’s safe and up to code. Once you pass, you’re free to use and enjoy your new basement.
Now, step back and admire your work. Your basement remodel outcome is more than just square footage. It’s a new chapter for your home. Movie nights, parties, workouts, and quiet evenings all become more comfortable and enjoyable in your newly finished space.
According to HGTV, finishing a basement remodeling project can boost your home’s value and dramatically improve how you live. Angi also notes that a well-planned basement renovation often returns more than half its cost at resale, making it a wise investment.
Maximizing Your Basement Remodel Outcome
Ready to make the most of your new space? Here are a few tips:
- Use flexible furniture that adapts to different activities.
- Add plenty of storage to keep clutter under control.
- Bring in smart technology, like smart thermostats or speakers, for extra convenience.
- Design your layout for easy movement and good flow between areas.
Keep these ideas in mind, and your basement remodel outcome will stay practical and enjoyable for years to come.
Common Mistakes to Avoid in Basement Remodeling
Even with the best intentions, a few pitfalls can trip up a basement renovation project.
- Ignoring moisture concerns or skipping waterproofing.
- Forgetting about soundproofing, especially if you plan to use the space for entertainment.
- Overlooking lighting needs. Basements need more light than you might think.
- Underestimating the impact of storage. Even in a beautiful room, clutter can pile up fast.
- Trying to DIY complex plumbing or electrical work. Always call in the pros for safety and quality.
Closing Thoughts
So, what’s stopping you from tackling your own project? With good planning, a clear process, and help from experts like Mega Kitchen and Bath, finishing a basement remodeling project becomes much less intimidating. Each step brings you closer to a space you’ll love.
If you’re ready to finish a basement and give your house a true basement upgrade, start by reaching out to a trusted team. Get the details right, avoid common pitfalls, and soon you’ll be showing off your basement makeover to friends and family.
Partnering with an experienced team is key. A reputable contractor like Mega Kitchen and Bath will guide you through every decision and help you avoid common pitfalls. They’ll work with your budget, handle permits and inspections, and bring your vision to life with professional craftsmanship.